
SF Testing Team Notes
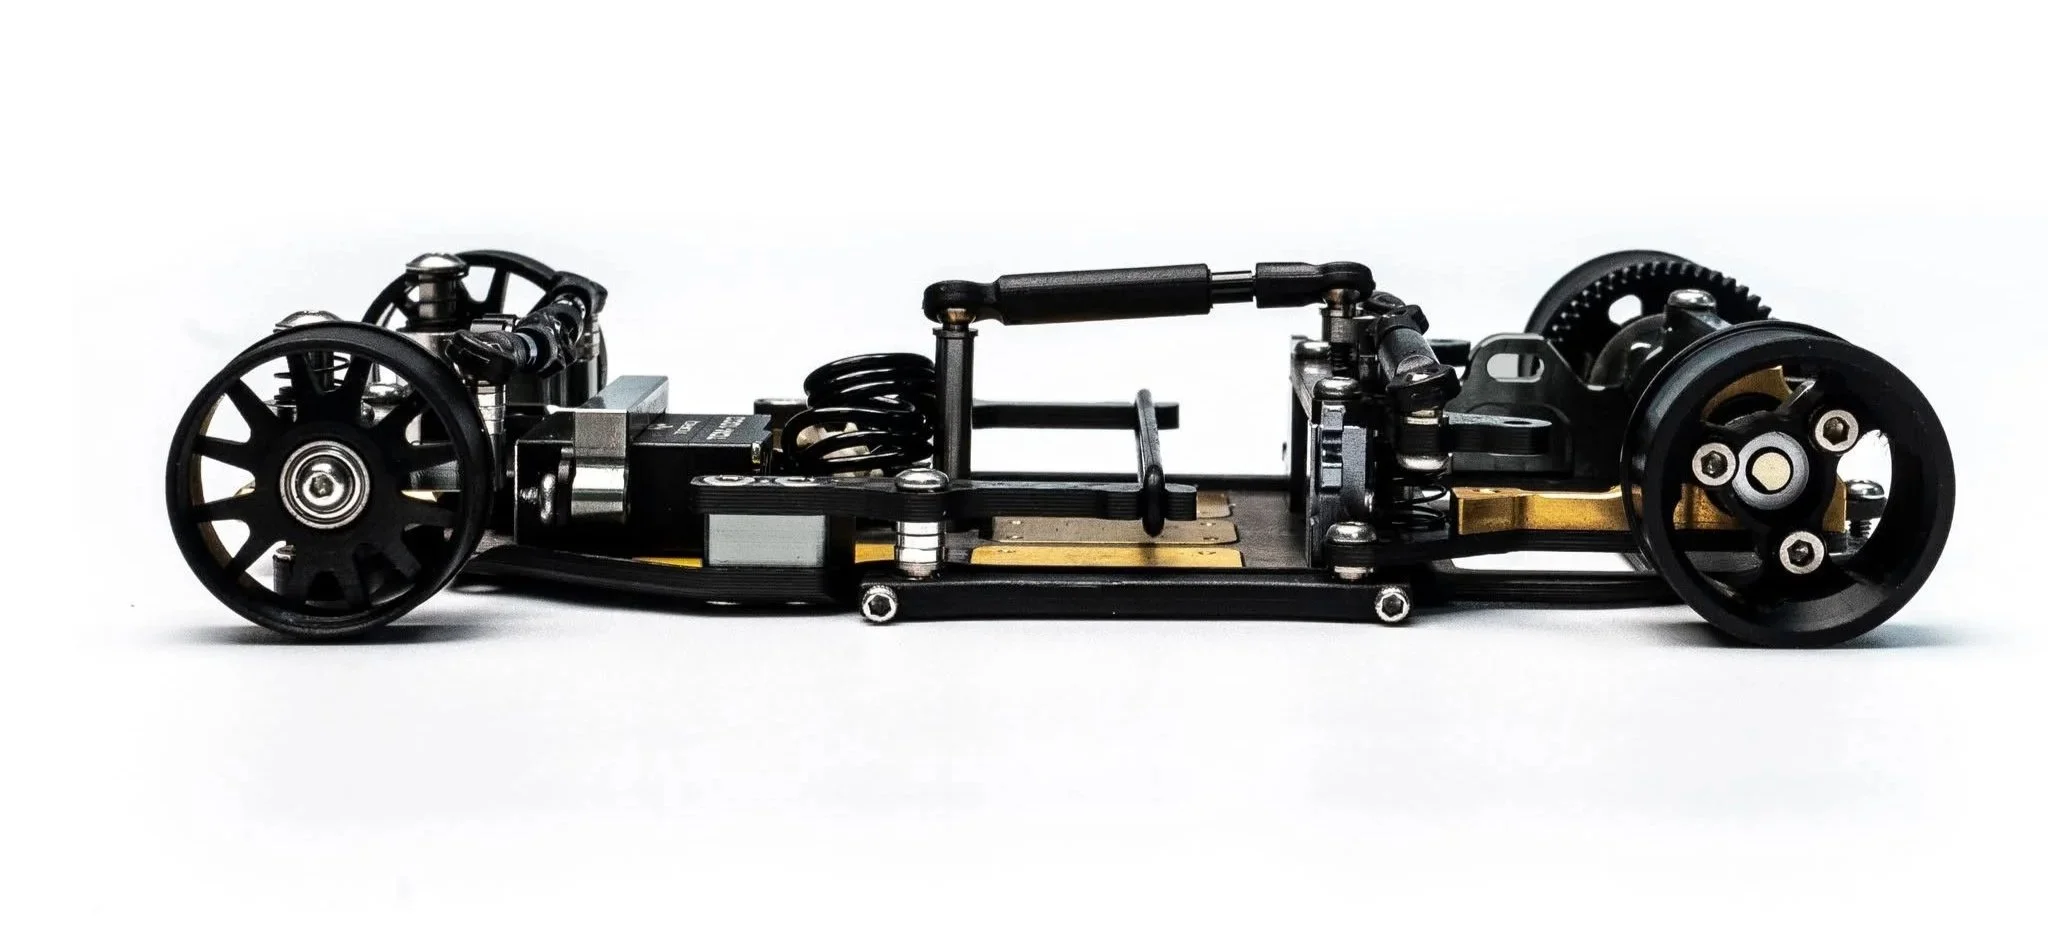
The Simple Front was designed to be easy to build and easy to understand. That's the whole idea. But "simple" doesn't mean there's nothing to learn, and the test team spent months finding the handful of things that actually matter on this car.
Here are the ten that came up over and over.
1. Flex is a tuning tool, not a fixed property.
The carbon chassis is meant to twist, and how much it twists is one of the strongest levers you have — something a steel or aluminium chassis can't offer. At the rear, the brass weight screws are the control. Fully screwed down is stiffest and most predictable, and a good place to start. Back out three screws per weight and the chassis frees up noticeably, with testers describing the traction as coming off all four wheels at once.
If you go that way, secure the weights with a flexible glue so they can't pop out, and never CA the chassis edge — that kills the flex permanently. Loosening the battery mounting is another easy way to free things up.
At the front, the Front Flex Control Kit (XB-160) does the same job at the other end. Running mod above 3500, you'll want the front stiffened up.
Worth knowing the over-flexed signature: lots of initial bite that disappears immediately after. Put a screw back in.
Parts: XB-160 Front Flex Control Kit · XB-149 Brass Front Weight · XB-148 Brass Front Buckle · XB-112 Carbon Chassis
2. Try the side springs before anything else.
The side springs are the most sensitive adjustment on the car and the fastest thing to change. Set them with no preload — the springs should just touch the plate, nothing more — and tune on rate from there.
Softer calms the car and makes it easier to drive; stiffer adds rotation but costs you some consistency. When the car feels too aggressive, this is the first knob to turn.
Parts: XB-S-SF V2 Side and Front Spring Set, 10pcs — individual hardnesses also sold separately · XB-150 Carbon Damper Plate v2
3. Getting more steering out of the SF front.
The SF's steering geometry and the angle it produces are different from a double A-arm front, so the radio settings that worked on your DAA car won't carry over directly. Plan on roughly 15% more dual rate than your DAA setup, plus a few points of EPA per side. It's free, and it's the right first move before you change any parts.
Caster is the next place to look, and it deserves real attention — it's one of the most significant adjustments on this front end, not a set-and-forget. The kit ships with the 0° plate, and plates are available at 1.5° and 3°; working through them is worth the time, because caster changes both how the car turns in and how settled it feels.
Caster also steepens the tie rod angle, and what you do about that is a choice in itself. To keep the same steering feel, add shims under the servo horn to bring the links back straight. For a more aggressive steering response, leave the shims out.
Still want more? Disc height is the next knob — closer to tire height gives more front bite. Then front tires, worth as much as anything on this list. +1mm offset front wheels are the last resort, and you shouldn't need them. But if the car is snapping the rear, don't fix it here — go to tip 5.
Caster plates: XB-141 (0°) · XB-138 (1.5°) · XB-140 (3°)
4. The knuckle O-rings are a tuning option, not just a build step.
The internal O-rings are the heart of this front end, acting as small dampers right inside the steering assembly. The manual calls for two, and that's the baseline the car is specified around — build it that way first.
The count is a real adjustment, though. Running a single O-ring underneath the knuckle with Kyosho 1000 grease gives the front a noticeably different feel, and it's a setup that came highly recommended out of testing. Two O-rings with a lighter grease was also run successfully. The kit includes a small bag of 250cst; any silicone oil works, just don't go too thick or it's slow to recover.
Parts: XB-166 White Silicone 3x5x1mm · XB-128 Knuckle Kit
5. Camber is the first place to look when the car feels nervous.
Nearly every "the rear is snapping" report during testing came back to too much camber. Camber is set by which king pin set you fit, so it's a step rather than a dial — and stepping down one option was repeatedly enough to make the snap disappear completely.
Note what happened next: with the car settled, testers could then turn dual rate up and ended up with more usable steering than they started with. The middle of the range is the forgiving place to begin; the most aggressive option is quicker but asks more of the driver. Whichever you fit, measure both sides and confirm the car has what you think it has.
King pin sets: XB-135 (0°) · XB-134 (1°) · XB-133 (1.5°) · XB-132 (2°)
6. If the front is too aggressive, calm the front — not the rear.
The test team spent real time chasing this from the wrong end. The rear isn't the problem on this car. Take camber out, or go a step softer on the side springs. Going from red to blue sides and removing front droop turned an unpredictable car into an easy one in a single run.
7. Two ways to set front ride height.
Stainless shims between the chassis and the front assembly change ride height without touching camber, caster or anything else — change it, run it, change it back.
You can also do it with the shims underneath the springs: adding or removing those changes front ride height as well. If you take a shim out from under a spring, put the same thickness underneath the knuckle. That leaves droop exactly where it was while the ride height moves.
Watch your tire diameters while you're in there. On worn tires it's possible to run out of adjustment before you reach the ride height you wanted, and the front-to-rear diameter difference has a large effect on how the car feels.
Tools: X-ST-18 Ride Height Gauges · X-ST-17 Front Droop Gauge · X-ST-14 Aluminum Front Setup Wheels · X-ST-4 Rear Wheel Simulators
8. KSK 40 up front is home base; 45 when you want it calmer.
Testers tried plenty of alternatives and kept landing back on 40s. On a high-bite track the 45s are noticeably calmer without giving up much.
9. Ball diff until the bite is genuinely high.
More than one tester lost time to this. The spool only works when the grip is up; at low or medium bite the ball diff gives more rotation and better consistency. If the track is green on top of that, go to 2.0mm ride height front and rear and add rear droop — get the weight up so it can transfer.
10. Run the discs — they're part of the design.
The SF is built around a front side disc roughly 0.2mm larger than the tire. It doesn't work properly without them, which is why the kit ships with 22.8mm discs. Start there and adjust from there.
One last point, because it came up every time someone asked what the secret was: there isn't one.
There's no magic formula. It's a simple chassis — the black springs from the kit, the 0.2 discs, and you're good to go. Build it, put it on the track, and drive it. You don't need to buy extra wheels or special parts to make this car work; the test team ran standard offsets the whole way through.
Thanks to the testers for the miles and the honest feedback.
Full kit: XB-SF Xbility Simple Front 1/28 RWD Chassis (Without Servo)