
XB-F1 Build Notes and Setup Sheet
I’ve been sitting on this build report a bit longer than I should. Have been busy with a few other RC projects and honestly trying to keep my game on for some local racing with the XB-1. With the release of the kit, locals are now starting to pick up the XB-F1 so it looks hopefully that we can get a class up and running again at Madison Mini RC.
You will not be surprised that I love this kit. It’s one of my favorite types of cars to drive and being able to test and give feedback was an extremely rewarding experience. Xbility really values a slow and deliberate testing process and this kit has had a number of shifts over the last 6 months. Very impressive.
I think what I like most about the kit is how similar the tuning matches the XB-1. All the little things I’ve gleaned tuning and racing the XB-1 has transferred 100% to the F1. Coupled with the known “fine-tuning” abilities of a Xbility kit, we really have a kit that can be tuned to the last mm of the track AND matching the rotation characteristics of your XB-1. This allows a seamless transition for complex, multi class racing programs. It’s just easier to tune and race!
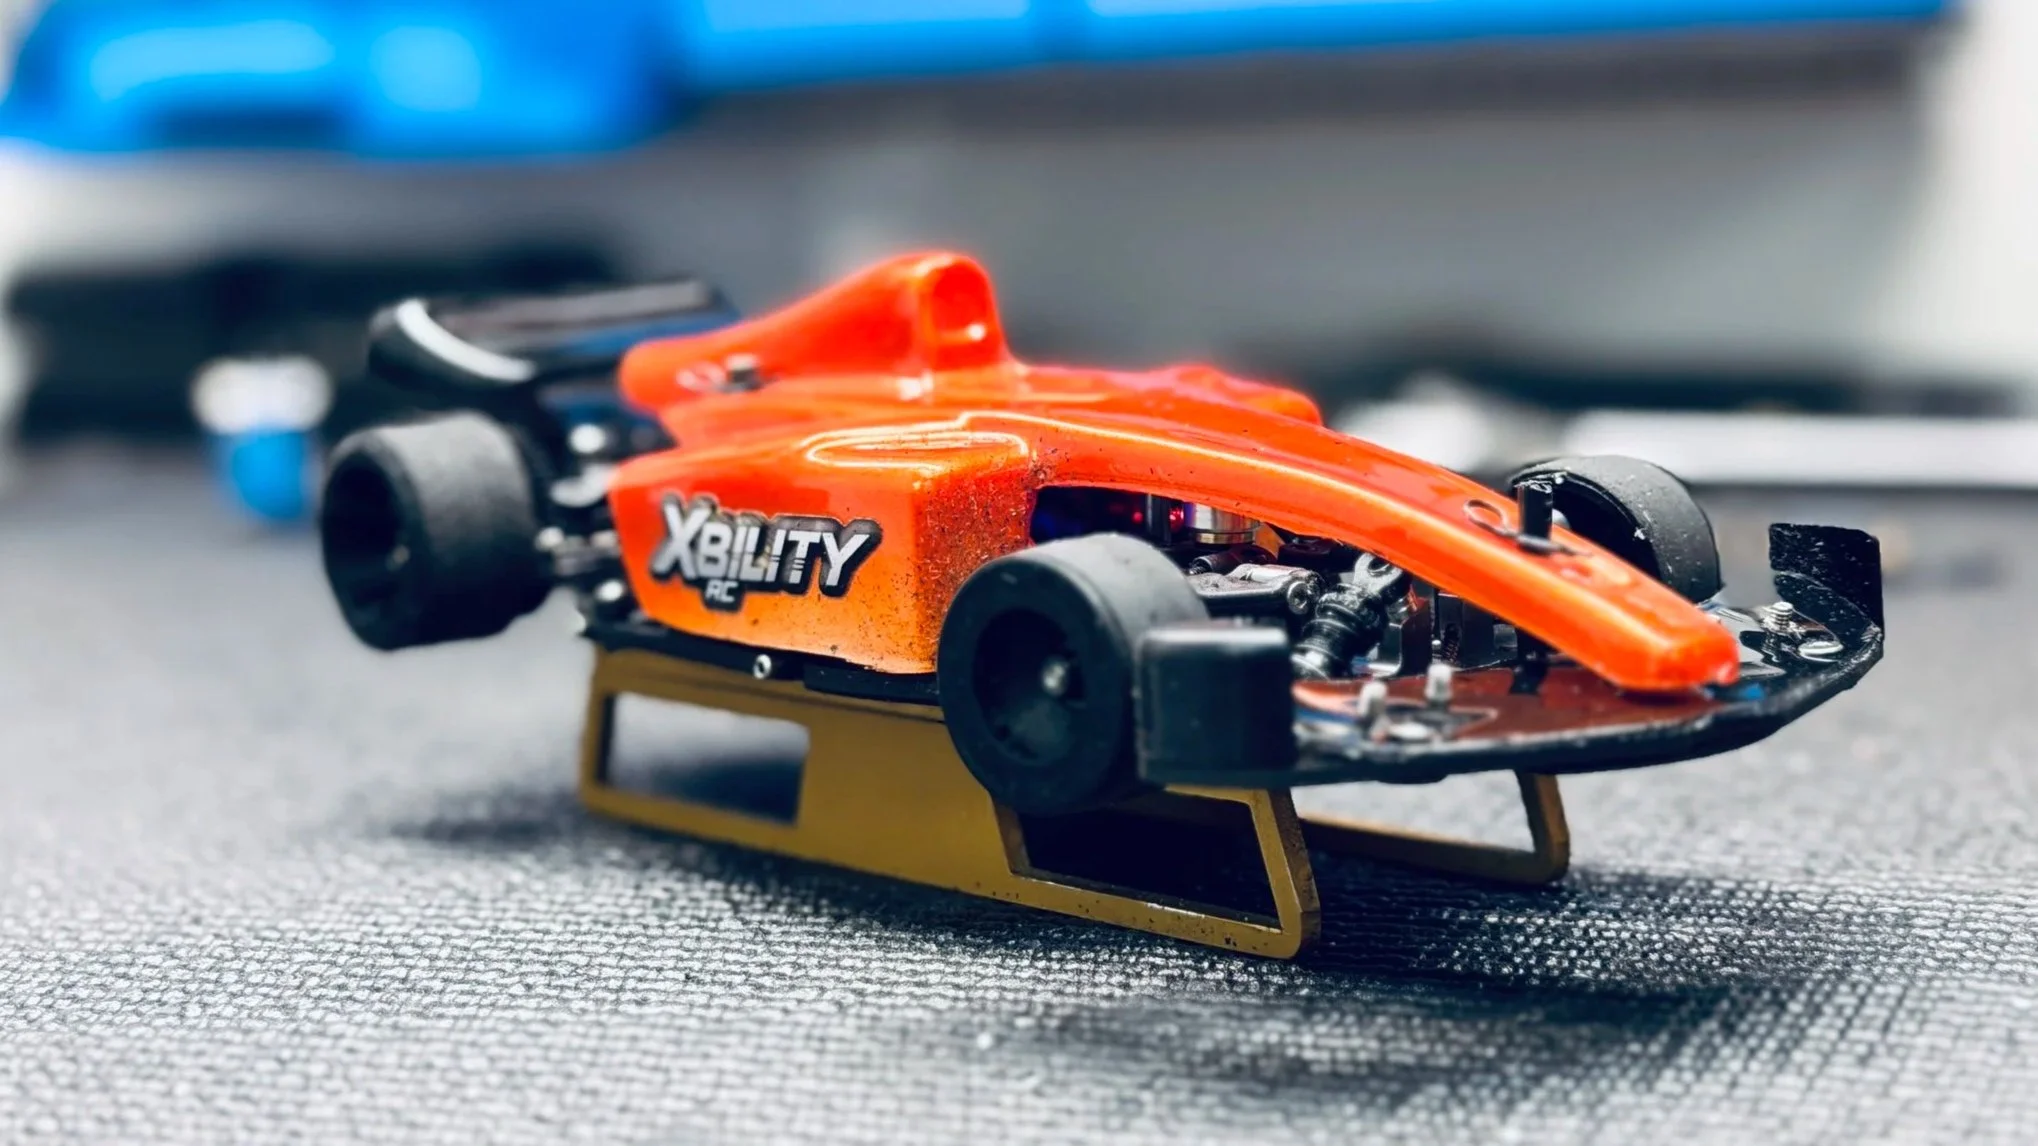
It’s also incredibly light. Ready to race my mostly stock kit comes in at 146 grams. I typically HATE driving a super light car but this car does NOT drive like a 146 gram car. It’s planted as well as my 170 gram XB-1. The carbon chassis plate was a smart move for the kit and I think others will really enjoy the driving experience.
Let me know in the comments if you have any question!
Building…
Most any/all tips you see for the XB-1 will continue to be helpful for the F1. Here are a few thoughts from my build:
Build Tip 1: I continue to suggest the titanium pivot balls for the front. This is the only real “upgrade” I have so far. I’ll be testing the Damper in the next few weeks.
Build Tip 2: Take your time to cut out the rear wing and I suggest using a dremel cutter/dill tools when you can. Far too many corners and edges to use scissors. Take your time and go slow for the best results. Air flow matters!!!
Build Tip 3: Think about if you want to pre-install the -1 knuckles as you build. Always easier to do during the initial build. I elect to run with the 0 offset as I prefer how the car rotates but beginning F1 drivers might like a calmer front.
Tuning…
The XB-1 tuning actually turned out to be an asset for the re-investment and final tune for the XB-F1. Here are a few thoughts from my tuning time:
Tip 1: If you are an XB-1 owner, whatever you have as your setup for that car will get you within striking distance of your fastest XB-1 lap time with the F1. If the XB-F1 is your first Xbility then start with the base setup in the manual. Consider a shift to the BLUE springs front/side/rear as this might help the car a great deal.
Tip 2: Tires are a personal decision but I started with my XB1 solution (RR10, KSK40, .4 disc diff) and shifted to RR15 and KSK35 with a .2 disc diff. The F1 rotates quickly so the 35 helped calm the car but still had the characteristics I liked.
Tip 3: I found I wanted a tighter diff with the XB-F1. I’m about 10 to 15% tighter than my XB1.
Tip 4: I shifted between a stock and a shorter shim stack on the front of the side links. After shifting to the blue springs I landed on 2 shims to fine tune the car rotation. For the side dampers, I ended up adding a shim on on the inner side.
Tip 5: Once I had the base setup I then started to mess with rear and front wing adjustments. You will not believe how much this affects the feel of the car. I don’t have exact measurements, but rather increase/ decrease both to add a bit of grip, reduce the height to reduce grip.
Tip 6: Matched the XB1 100% on camber and toe. I felt this provided almost equal corner behavior to the XB1 and the above steps gave me the fine tuning I needed.